1.Install Retail Retail Channel Database
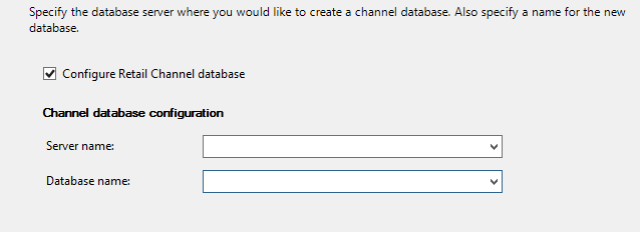
Start Microsoft Dynamics AX Setup and select “Retail channel database” option, and then click Next
Enter SQL server and database to be created.
2.Install Async Client
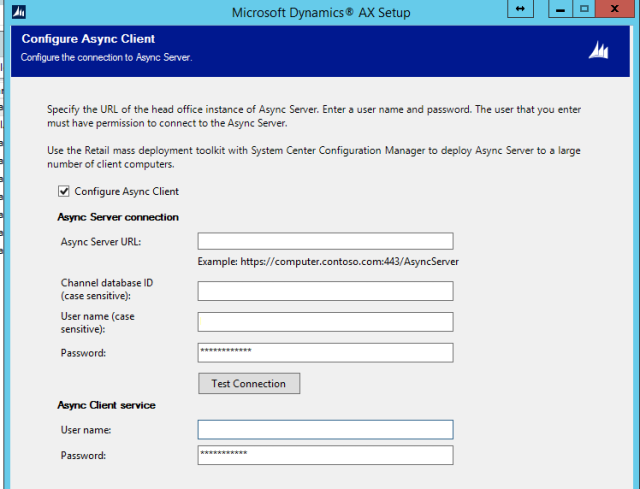
Start Microsoft Dynamics AX Setup and select “Async Client” option and then click Next.
Enter the URL where Async Server was installed, channel identification, local service user and password, then click Next.
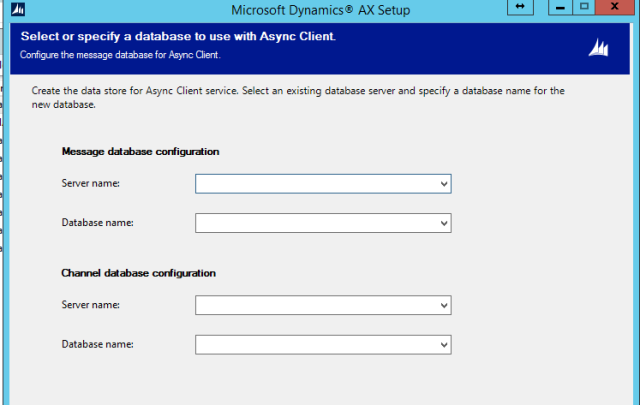
The Async client will need a channel database and message store database. Enter proper the settings.
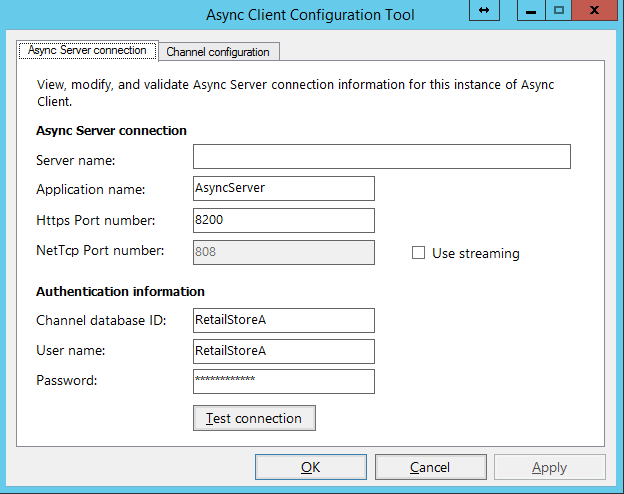
Later, you can change the Async Client settings by running C:\Program Files (x86)\Microsoft Dynamics AX\60\CDX\Async Client\Package\AsyncClientConfigurationUtility.exe
3.Install Retail POS
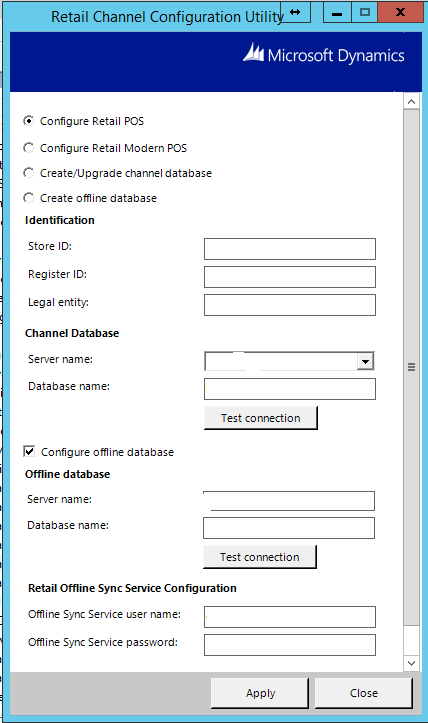
Start Microsoft Dynamics AX Setup and select “Retail POS” and “Retail Channel Configuration Utility” options and then click Next.
Choose the option to create a new offline database for POS. Enter local SQL server and database.
Then select “Configure retail POS” option and check “Configure offline database”. Enter the proper settings.
4 – POS
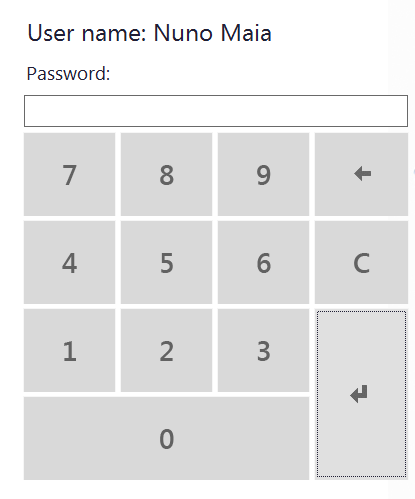
Start POS client.
Enter user name and password to validate installation.



Great effort for beginners.